Wednesday, June 27, 2012

Summer Ice Pops: Strawberry Mint


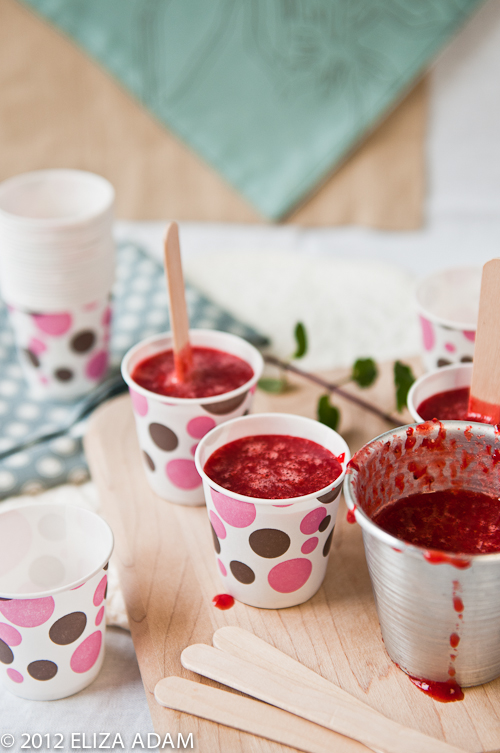
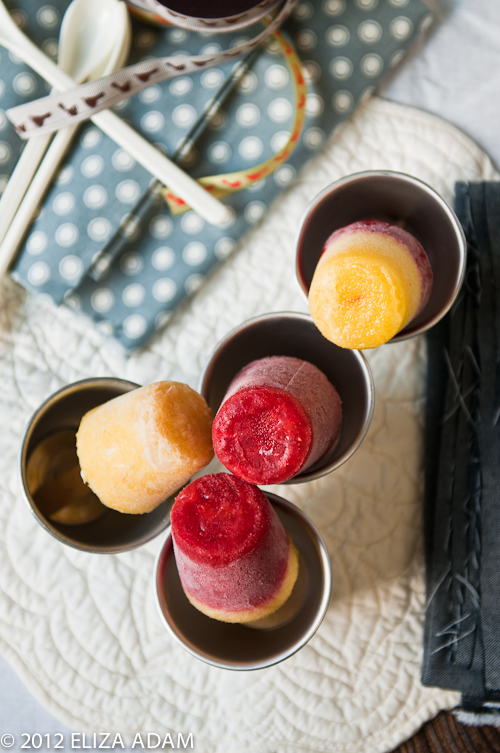
So here's the recipe for the strawberry pops. Made with mint simple syrup and fresh Oregon strawberries, the pops look so bloody red! They taste amazing though, the mint is very subtle, the strawberries really shine.  To mix two different flavors, freeze half of the first mixture about 1 hour, then add the second mixture.  Now I'm never gonna go back buying store bought ice pops anymore, this is way healthier and fresher!


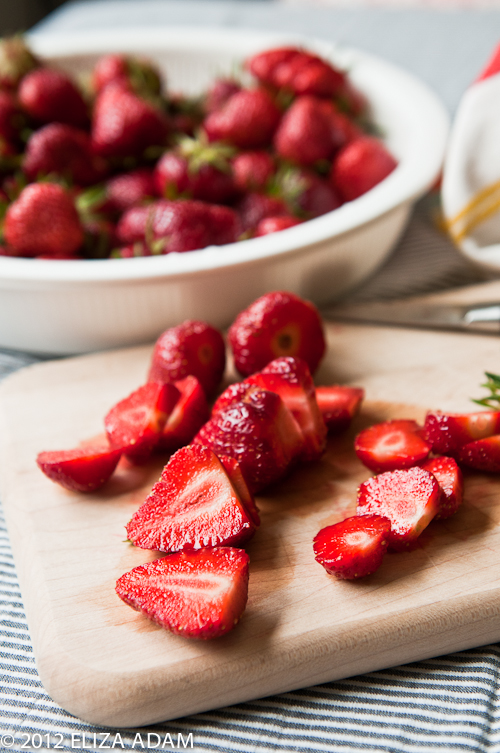
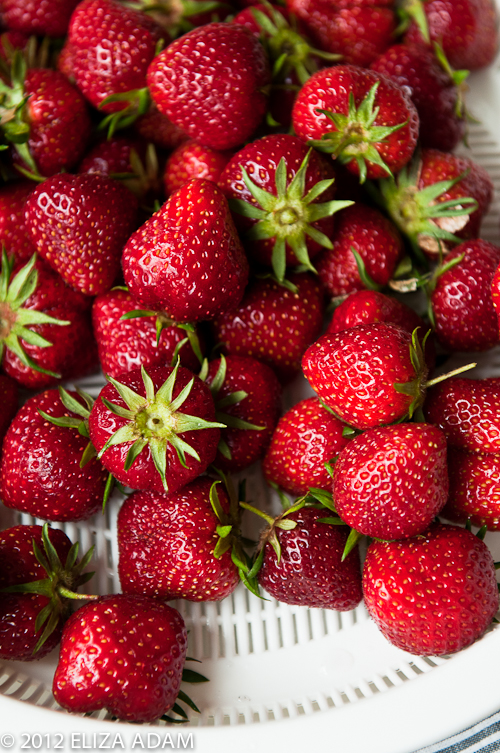
Oregon strawberries


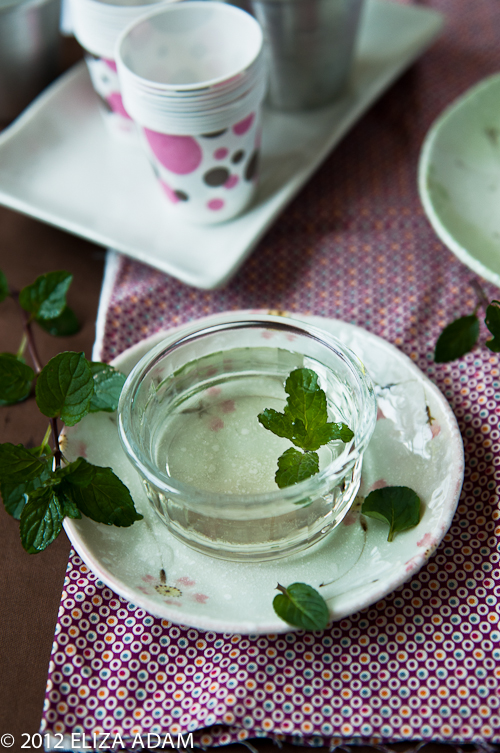
Mint simple syrup


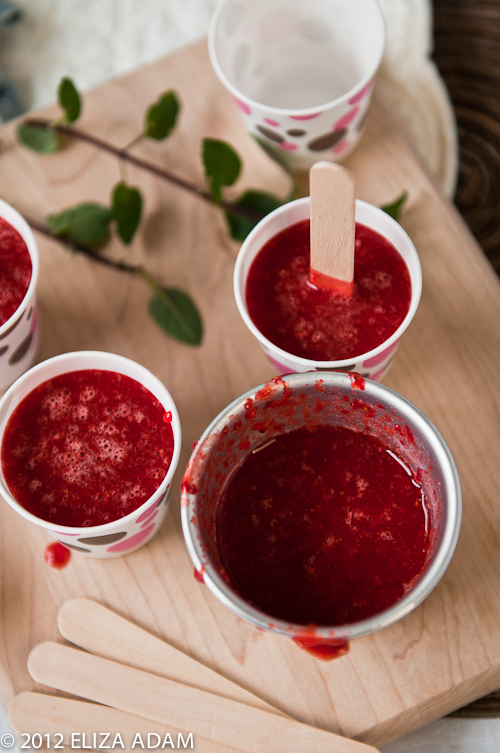
Liquid state


Strawberry mint ice pops


Summer pops

Strawberry Mint Ice Pops


Makes approximately 10 3 fluid ounce pops

1 cup sugar
1 cup water
1-2 pounds strawberries
4-5 fresh mint leaves

To make simple syrup, gently heat sugar and water, stirring occasionally until sugar dissolves. Steep the syrup with mint, remove from heat; let cool.

Rinse and mash strawberries with a potato masher until smooth. Add 1/3-1/2 cup simple syrup for every cup of pureed syrup, taste as you go, adding more fruit or simple syrup as needed. Note: keep it a bit sweeter because the pop tends to lose sweetness when frozen.

Pour mixture into molds, add stick, and freeze.

Source: adapted from People's Pops by Joel Horowitz and Nathalie Jordi

Sunday, June 24, 2012

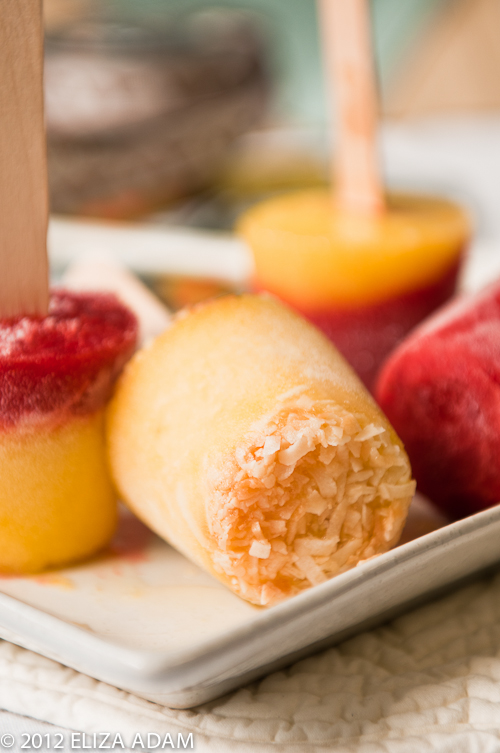
Summer Ice Pops: Pineapple Ginger Coconut


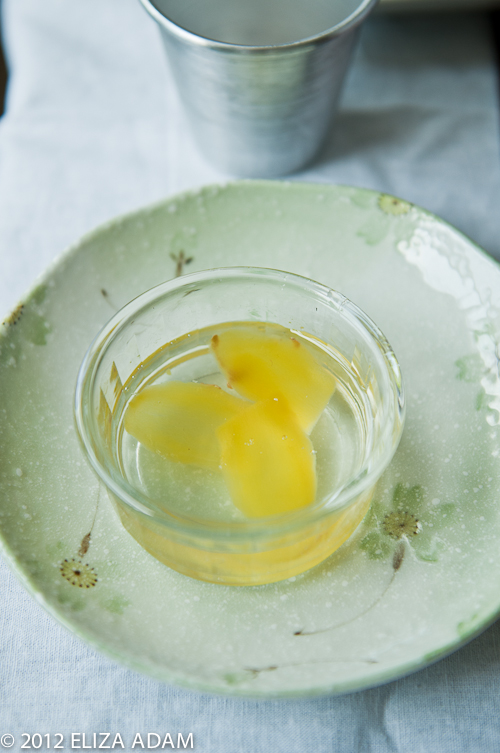
Okay, so when a grocery store had a sale on pineapples, what do you do?  If you're like me, you'd run to the store and bought more than one pineapple for sure.  Fred Meyer had $1/pineapple this week so I had to have it; in my household, pineapple is a favorite fruit.  I bought one for eating fresh and another one for making pineapple pops.  I have ready a ginger simple syrup in my fridge, something that now I know it's so easy to make, I must have some ready in the fridge for making something sweet.

ginger simple syrup-1


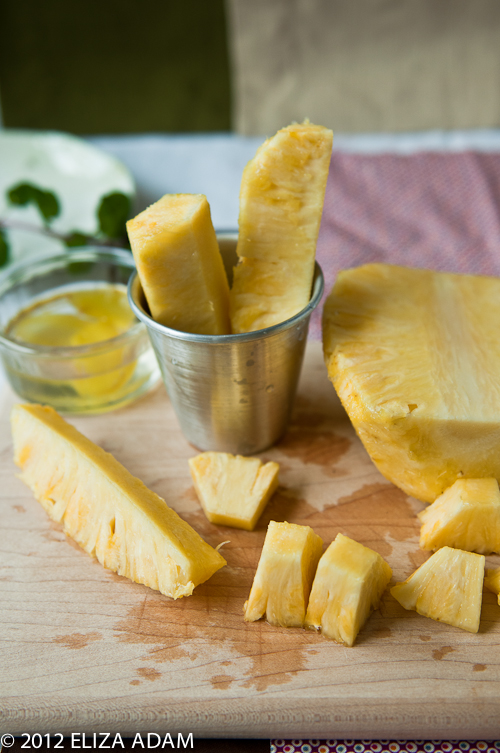
fresh pineapple-1


pineapple ginger coconut pops-1


pineapple ginger coconut pops-1-3


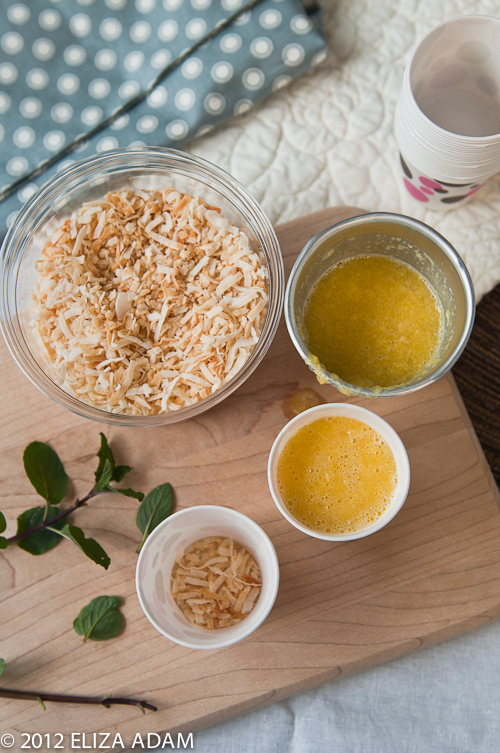
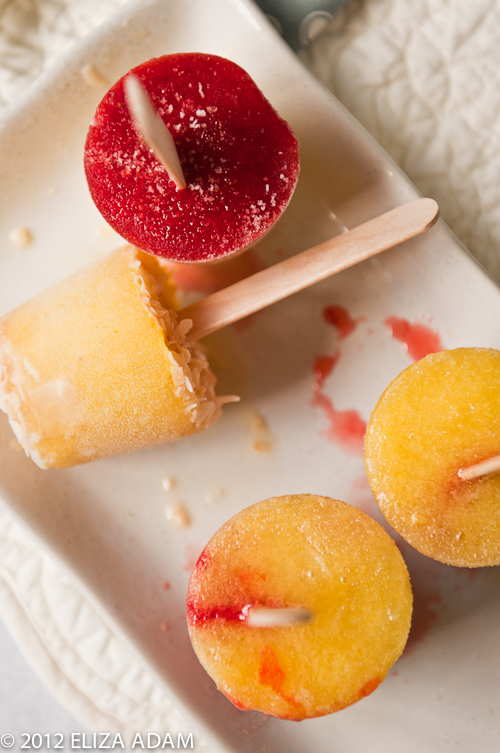
My flavor combo of this week for the pops is pineapple, ginger, and coconut.  The recipe is a very easy one:  I put one whole pineapple in the blender, then I combined it with ginger simple syrup to make it slightly sweeter than normal.  The sugar will mellow when the pops are stored in the freezer, so you should make your pops always a tad too sweet.  The recipe for the simple syrup here will be most likely used all because it's thicker than a regular simple syrup.  Since I have not bought any popsicle molds, I had to resort using a 3-ounce paper cups again (like I did with this banana blueberry gelato).  I really don't mind using the paper cups though I'm putting popsicle mold in my wish list nevertheless.  I see myself making pops every summer now.

I like to steep the ginger in my syrup for a day or two so the ginger really sings in the pops :)  There's a bit of heat from the ginger that's refreshing yet it's still subtle enough, and with toasted shredded, sweetened coconut in the pops, these add texture and bring more of that tropical island kick to the pops.

frozen pineapple ginger coconut pops-1


frozen summer pops-1-2


strawberry pineapple pops-1-3


And along with these pops, I made strawberry pops that has been mixed with mint simple syrup which was also fabulous.  On some cups I put these two together and they came out very pretty and vibrant.  The recipe for the strawberry pops will be in the next post, don't you worry.  Now, who don't want to have these all summer long?!

Pineapple Ginger Coconut Ice Pops


Makes about 10 3-fluid ounce pops


Ginger Simple Syrup:

1/2 cup water

1 cup sugar

5-6 thin slices, peeled, fresh ginger

Combine water, sugar, and sliced ginger pieces in a small saucepan over medium heat.  Heat until sugar dissolves, stirring occasionally.  Keep syrup in a refrigerator after it cools down.  It is best to make this one or two days ahead because the flavor will be more pronounced.


Pineapple mixture:

1 medium size pineapple, peeled, cored, and cut into 1-inch pieces


About 1 cup toasted, shredded sweetened coconut


Put pineapple pieces in a blender and puree until smooth.  Add syrup to pureed pineapple, 1/2 cup at a time; make sure the mixture is very sweet.  Pour pineapple mixture into cups or ice pop molds, add stick when partly frozen if using paper cups.  Freeze until solid.

For a variation:  add toasted coconut in the cup/mold and after the cup/mold is filled.

Tuesday, June 19, 2012

Start of the Summer


Where has the sun gone today?  It was drizzling, the sky turned grey, and it was cold this morning that it dampened our spirits a bit.  My son and I were to go on a bike ride right after breakfast but since it was drizzling, we decided that we would bake cookies first.  My son has shown a great interest in cooking and baking that I think this summer he's going to do them more often.

The young baker


He chose a cookie recipe that was easy enough for him to do which was a thumbprint cookies.  I have a strawberry-lemon marmalade and peach-cherry-almond conserve that I think are perfect for the cookies.  We did it good today; he was grinning from ear to ear posing before his creation.  Afterwards, we went bike riding to the park. This bike ride has become our form of exercise of the day that I want to keep it all summer long. I sometimes even add a 4-mile walk at the track, just like what I did today.

strawberry pie-1


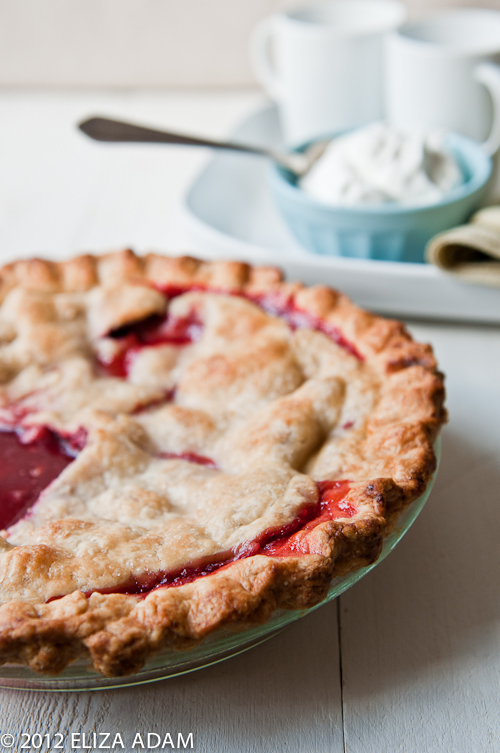
On my last post I wrote that I made strawberry pie, but sadly that pie didn't turn out as good as I thought.  The filling was weeping out of the crust when I cut a slice.  I was very disappointed.  My feeling was perhaps I left the strawberries too long with the sugar and cornstarch and it became too juicy.  I should have used ClearJel for the filling, oh well...  From the outside, it had a promising look; the crust was tender and crumbly.  But no matter how bad it looks in the inside, it was great eaten with homemade whipped cream.  My son suggested buying Reddi-Whip while we're buying groceries, but I couldn't bear buying it since I knew whipping heavy cream wasn't hard to do!

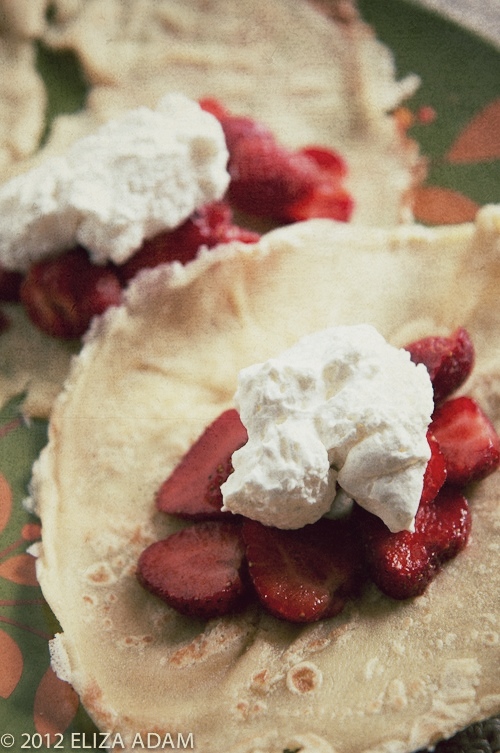
Leftover crepes, strawberries & whipped cream


Since I have some leftover crepes, they became my son's power breakfast this morning; crepes, strawberries, and whipped cream.  Hmmmm...delish!

Sunday, June 17, 2012

Strawberry-Banana Crepe Cake

Strawberry season is officially here!

From my parents' garden, we harvested small but big in taste strawberries.  The plants are still producing quite a big yield every summer, enough for a week's consumption.  Every day my mom would be in the backyard harvesting the berries.  I have a box of strawberry plants as well in my backyard but due to lack of sun, they never really produce enough berries for us.  I'm thinking of replacing those with something else in the future.  But my herbs thrive in the box garden well enough that I'm happy to have fresh herb every spring to use in my kitchen.

Yesterday I decided to pick strawberries at Lee Farms in Tualatin.  My plan was to make strawberry jam and to freeze the rest that we can't eat anymore.  Last year I made some jams that I ended up giving to friends and family that I didn't have enough for myself.  This year I want all for myself and those who want it, should pay for it :D  I drove to the field with my son late afternoon though the sun was hot but  it's still bearable.  Being in the field made me happy, it gave me the feeling that warmth of summer is here to stay.  The strawberries were huge and they're red on the inside too; this is how ripe strawberries should look like.

strawberry banana crepe cake-1-3


strawberry banana crepe cake-1-2


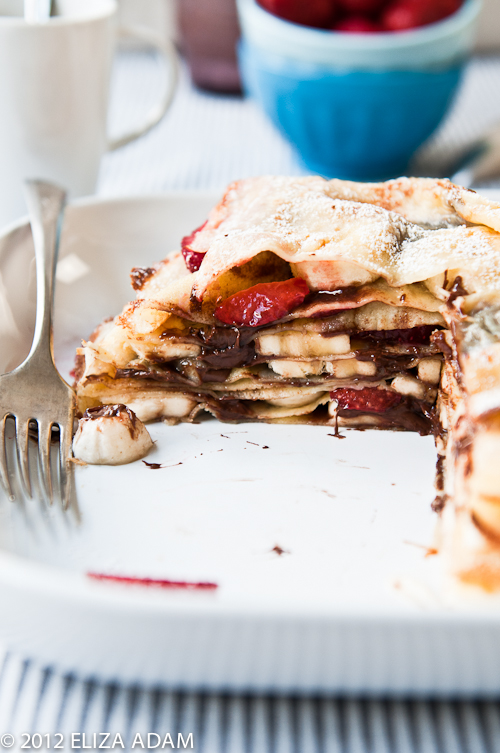
My son begged me to make strawberry pie and I also planned to make a breakfast treat for Father's Day, so even though we picked more strawberries than what we needed, they're off to good use.  Last night I made the crepe batter, stored it in the fridge afterwards, and this morning I cooked the crepe.  The crepe cake is consisted of layers of crepe with dollops of Nutella, sliced strawberries, and sliced bananas.  When I cut the cake to serve, the Nutella was oozing between the layers and they're so delicious.  Everyone agreed that this was a yummy breakfast and we all polished the whole cake in no time.  I'm dreaming of making a different combo next time...


Strawberry-Banana Crepe Cake


Serves 4


Crepe Batter:

3/4 cup all-purpose flour

1/2 cup granulated sugar

1/4 teaspoon salt

2 large egg and 1 egg yolk

1 1/4 cups whole milk

1 teaspoon vanilla extract

4 tablespoons (1/2 stick) melted butter, for the pan


Filling:

Chocolate-hazelnut spread, such as Nutella

Strawberries, sliced

Bananas, sliced


Confectioners' sugar


For crepes:  In a food processor, pulse flour, sugar, and salt until combined.  Add eggs and yolk; process until blended.  With the motor running, slowly pour in milk and vanilla; process until smooth.  Refrigerate batter for 15 minutes, or up to overnight.

Warm a 9-inch nonstick skillet over medium heat.  Add just a bit of butter to coat the pan.  Pour about 3 tablespoons of batter into hot pan; pick up pan and swirl it around to evenly spread batter.  Place back on heat; cook for 30 seconds (I like to cook until edges are starting to get brown).  Using a spatula and fingers, flip crepe; cook for 30 seconds.  Crepe should be almost firm to the touch and spotty brown.  Transfer to a cutting board.  Repeat process with remaining batter to make about 10 crepes.  (You may have extra crepes; add them to the stack.)

Preheat broiler.  Line a baking sheet with parchment paper.  Layer two crepes on prepared pan.  Spread a thin layer of Nutella onto the top crepe; add a few strawberry and banana slices.  Top with another crepe and layer more Nutella, strawberry, and banana.  Repeat this process with remaining crepes.  Top with a final crepe.  Place baking sheet under broiler until cake is warmed through.  Sprinkle cake with confectioners' sugar.


Source:  Debbie Macomber's Christmas Cookbook

Monday, June 4, 2012

Piña Colada Cake

There are days that I will definitely bake a cake, and those are birthdays and wedding anniversary.  Last week we celebrated our anniversary and my hubby's birthday's on dates that were only a day apart.  When I asked what kind of cake he wanted for his birthday, he asked for a cake with pineapple.  Pineapple in a cake sounded yummy and refreshing, and it's also in season and abundant right now.  So I went on searching on what kind of pineapple cake would be good to make, and I found it in the book by Alisa Huntsman and Peter Wynne, Sky High.  I've made cakes from the book before and I've had great result so I knew that I could rely on the recipes.

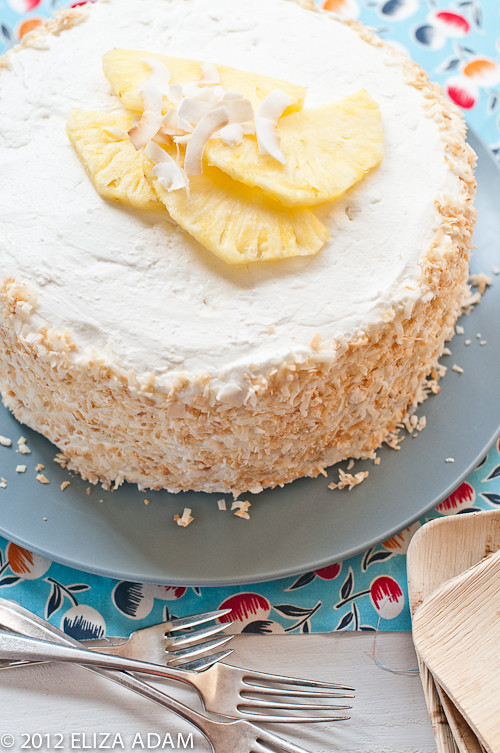
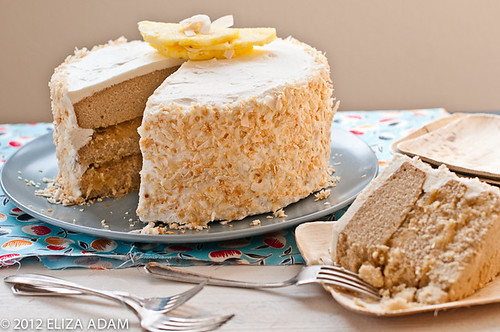
She has a piña colada cake which I thought was perfect.  Lime accented pineapple-like jam was used for the filling; the cake layers were of brown sugar that added butterscotch-like flavor, and the frosting was a smooth, airy, and not overly sweet meringue coconut buttercream.  I haven't made layered cake for a long time but surprisingly the step-by-step instructions in the recipe wasn't as complicated as I thought.  I know that I've always enjoyed the process of making a layered cake though I'm not really good at decorating it.  For cake decoration, I prefer something simple and unfussy, partly because I don't practice much and most importantly, I'd rather have the flavor to be the number one goal.

pina colada cake-1-6


pina colada cake-1-3


All in all we enjoyed the cake very much; piña colada in a cake, who could resist?


Piña Colada Cake


Makes a 9-inch triple-layer cake


1 can (20 ounces) crushed pineapple in juice (no sugar added)

1 cup sugar

1/4 cup freshly squeezed lime juice

1 one-inch piece of vanilla bean, split in half

Brown Sugar Cake, recipe follows

Coconut Buttercream, recipe follows

2/3 cup light rum (light, amber, or dark, whichever you prefer)

Coconut flakes and thin slice of fresh pineapple, for decoration


Combine the crushed pineapple, sugar, and lime juice in a large nonreactive skillet.  With the tip of a small knife, scrape the vanilla seeds into the pan; add the pod as well.  Warm over medium-low heat, stirring to dissolve the sugar, 2 to 3 minutes.

Raise the heat to medium and simmer, stirring occasionally to prevent scorching, until the juices have almost completely evaporated and the pineapple has a jamlike consistency.  Remove from the heat and discard the vanilla pod.  Let the pineapple filling cool completely before using.  (The filling can be made a day ahead and refrigerated.  Let return to room temperature before using.)

Bake the Brown Sugar Cake as directed.  Let the layers cool completely.  Prepare the Coconut Buttercream just before you're ready to use it.

To assemble the cake, place one layer, flat side up, on a cake stand or serving plate.  Sprinkle a generous 3 tablespoons rum over the cake. Spread half of the pineapple filling over the layer, leaving a 1/4-inch margin around the edge.  Add the second layer, sprinkle with more um, and cover with the remaining filling.  Top with the third layer, flat side up, and sprinkle with the remaining rum.  Frost the top and sides of the cake with the Coconut Buttercream.  Decorate with some coconut shreds and thin slices of pineapple.

pina colada cake-1-2

Brown Sugar Cake


Makes three 9-inch layers


3 3/4 cups cake flour

1 3/4 teaspoons baking soda

1 teaspoon baking powder

1/2 teaspoon salt

2 1/4 cups packed light brown sugar

2 sticks (8 ounces) unsalted butter, at room temperature

1 3/4 buttermilk

5 eggs

2 teaspoons vanilla extract


Preheat the oven to 350 degrees F.  Butter three 9-inch cake pans.  Line the bottom of each pan with a round of parchment or waxed paper and butter the paper.

Sift together the flour, baking soda, baking powder, and salt into a large mixer bowl; whisk gently to combine.  Add the brown sugar, butter, and 1 1/2 cups of the buttermilk to the dry ingredients.  With the mixer on low, blend to incorporate.  Raise the speed to medium and beat until light and fluffy, 2 to 3 minutes.

Whisk the eggs with the remaining 1/4 cup buttermilk and the vanilla and add to the batter in 3 additions, scraping down the sides of the bowl well and beating only long enough to incorporate between additions.  Divide the batter among the 3 prepared pans.

Bake for 25 to 28 minutes, or until a cake tester or wooden toothpick inserted in the center comes out clean.  Let the layers cool in the pans for 10 minutes; then turn out onto wire racks, carefully peel off the paper liner, and allow to cool completely before filling and frosting.


Coconut Buttercream


Makes about 5 cups


3 egg whites

1 cup sugar

1/4 cup water

2 1/2 sticks (10 ounces) unsalted butter, at room temperature

2/3 cup unsweetened coconut milk

1 1/2 teaspoons coconut extract


Put the egg white in the bowl of an electric mixer fitted with the whip attachment so they are all ready to go.

Combine the sugar and water in a small heavy saucepan and place over medium heat, stirring to dissolve the sugar.  Bring to boil and cook, without stirring, until they syrup reaches the soft-ball stage, 238 degrees F on a candy thermometer.

Beat the egg whites briefly at medium speed.  Slowly add the hot syrup in a thin stream, being careful to avoid the beaters.  Continue to whip until the meringue has cooled to body temperature.

With the mixer on low speed, gradually add the butter, several tablespoons at a time, and continue to beat until a smooth, fluffy frosting forms.

Add the coconut milk in several additions, scraping down the sides of the bowl well after each addition.  Add the coconut extract and mix until smooth.


Source:  Sky High by Alisa Huntsman and Peter Wynne